Tutorial: Rectangular Panel Gatefold
This criss-cross gatefold card is a lot of fun, and you can decorate it any way you like. Read below to see how it’s done!
Here are the measurements:
Cardbase: 8 ½ x 5 ½”, scored parallel to the short side at 2 ⅛” from each side
Three pieces cardstock 3 ½ x 1 ½” (can be the same as cardbase or different colour)
Three pieces Designer Series Paper 3 ¼ x 1 ¼”
Two pieces Designer Series Paper 5 ⅜ x 2”
White insert 4 x 5 ¼”
Score your cardbase to create a gatefold as below.
Attach your tall pieces of DSP to the outside flaps of the gatefold.
Attach your DSP rectangles to the cardstock rectangles.
(Note: Because my cardstock and my DSP are both Fresh Freesia, I also used a white cardstock layer in between. If you’d like to do the same, these white pieces measure 3 ⅜ x 1 ⅜”. )
Decorate your rectangles and your white cardstock insert as desired.
Attach your white insert to your cardbase.
For the top and bottom rectangles, attach only to the right side of the gatefold.
For the middle rectangle, attach only to the left side of the gatefold.
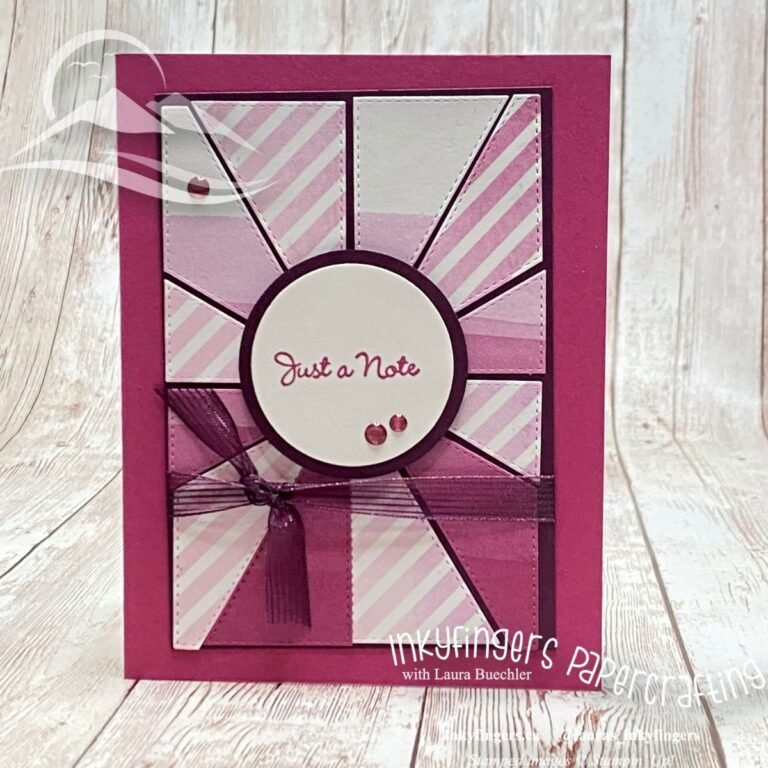
Close your finished card, and it looks like this!
Have you made any projects with this fold? Share them in the comments below! I love to see your creations!
Happy Stampin’!
Product List


