Video Tutorial | All Occasion Cards | Birthday Cards | Cards for Beginners | Feminine Cards | Masculine Cards | Thank You cards
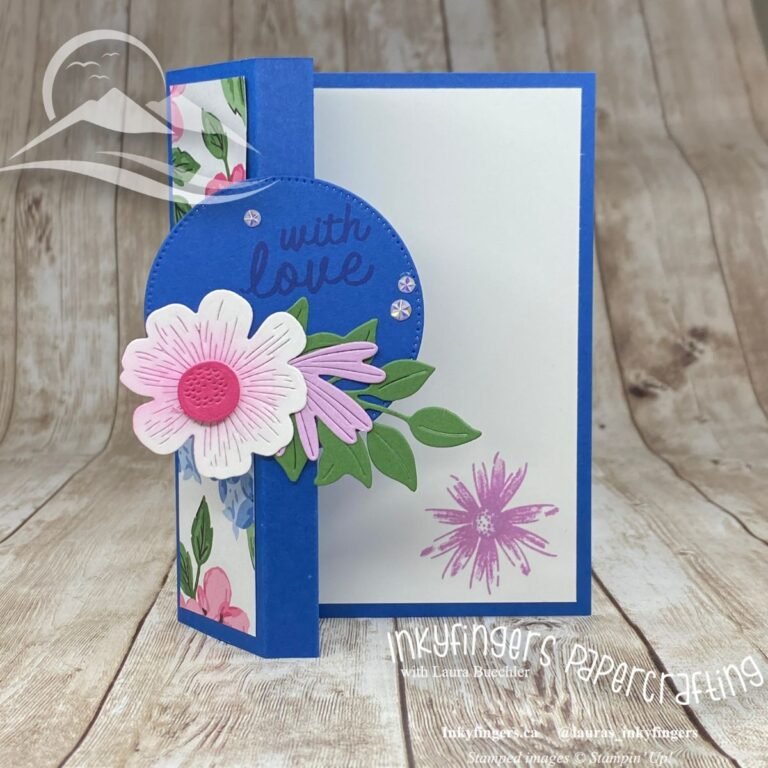
Video Tutorial: Following a Card Sketch with Floral Impressions
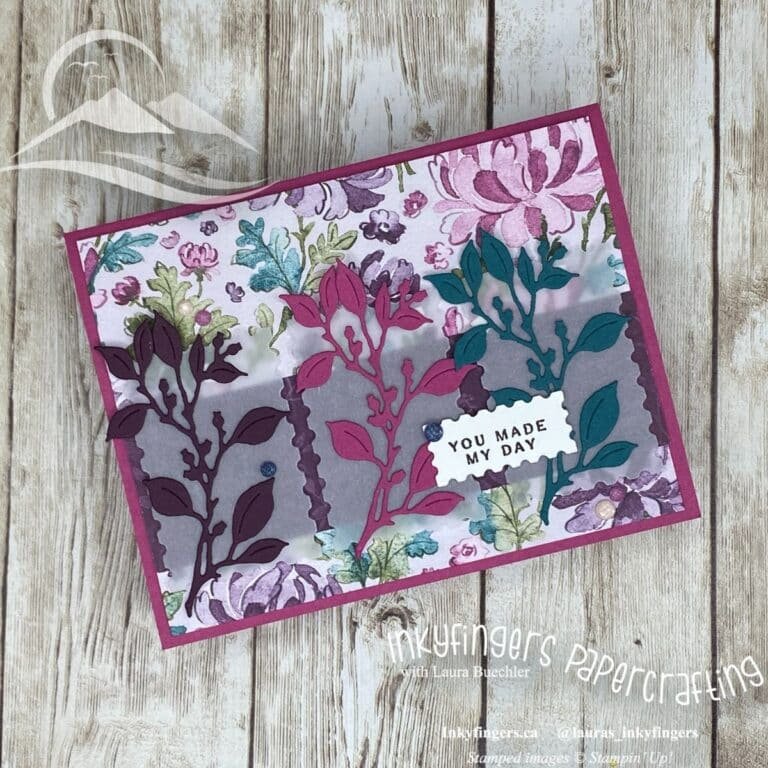
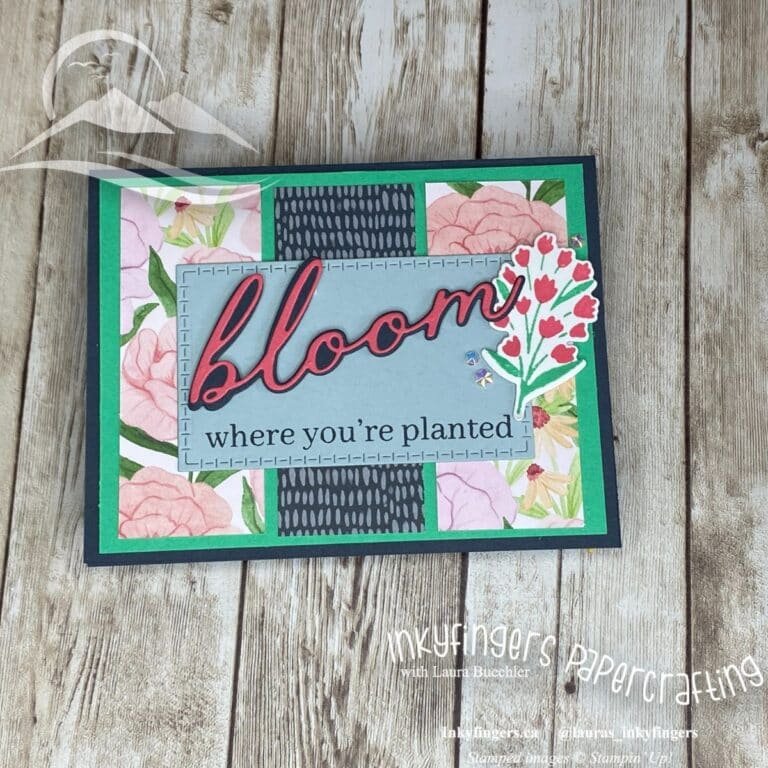
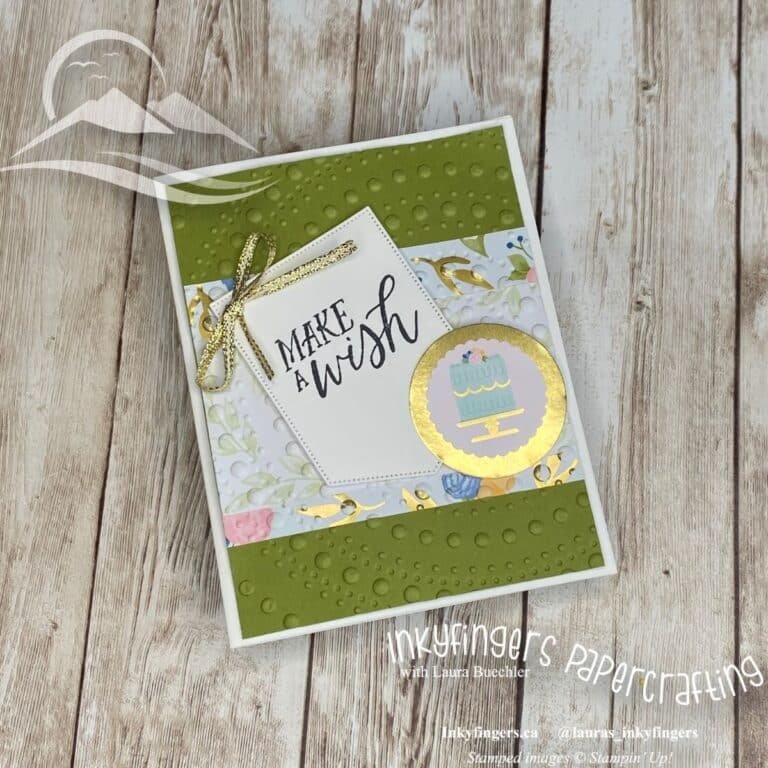
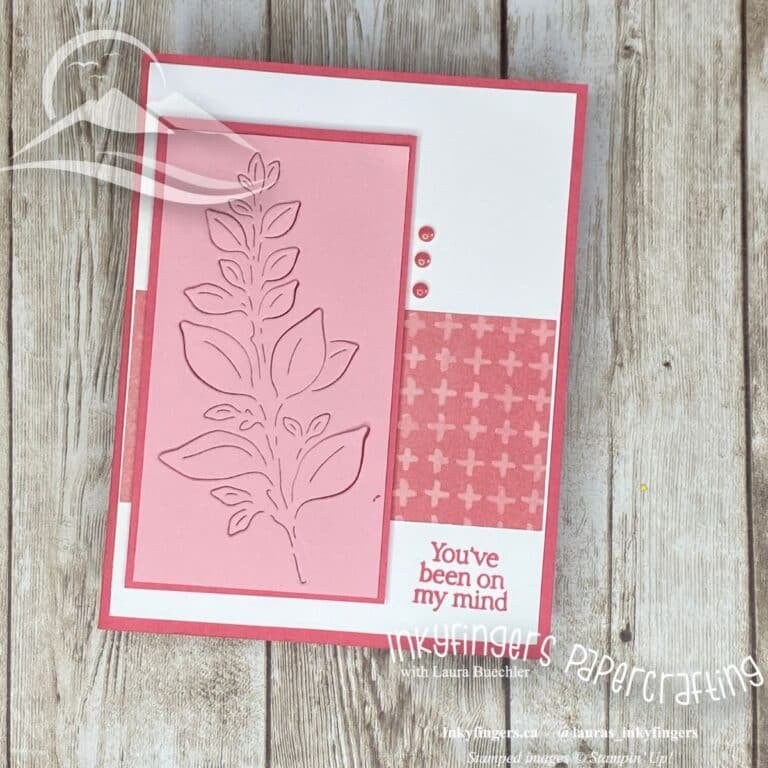
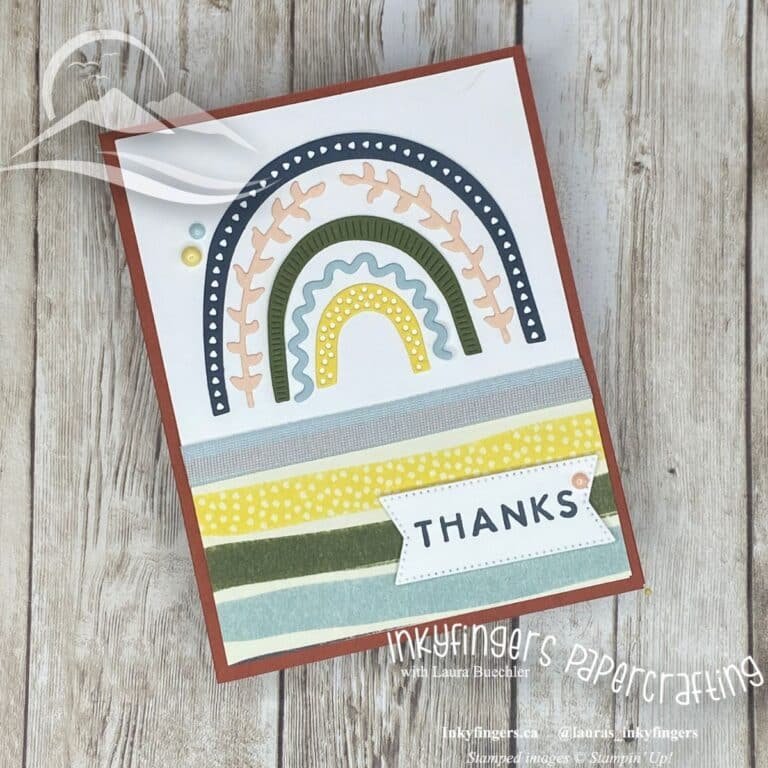
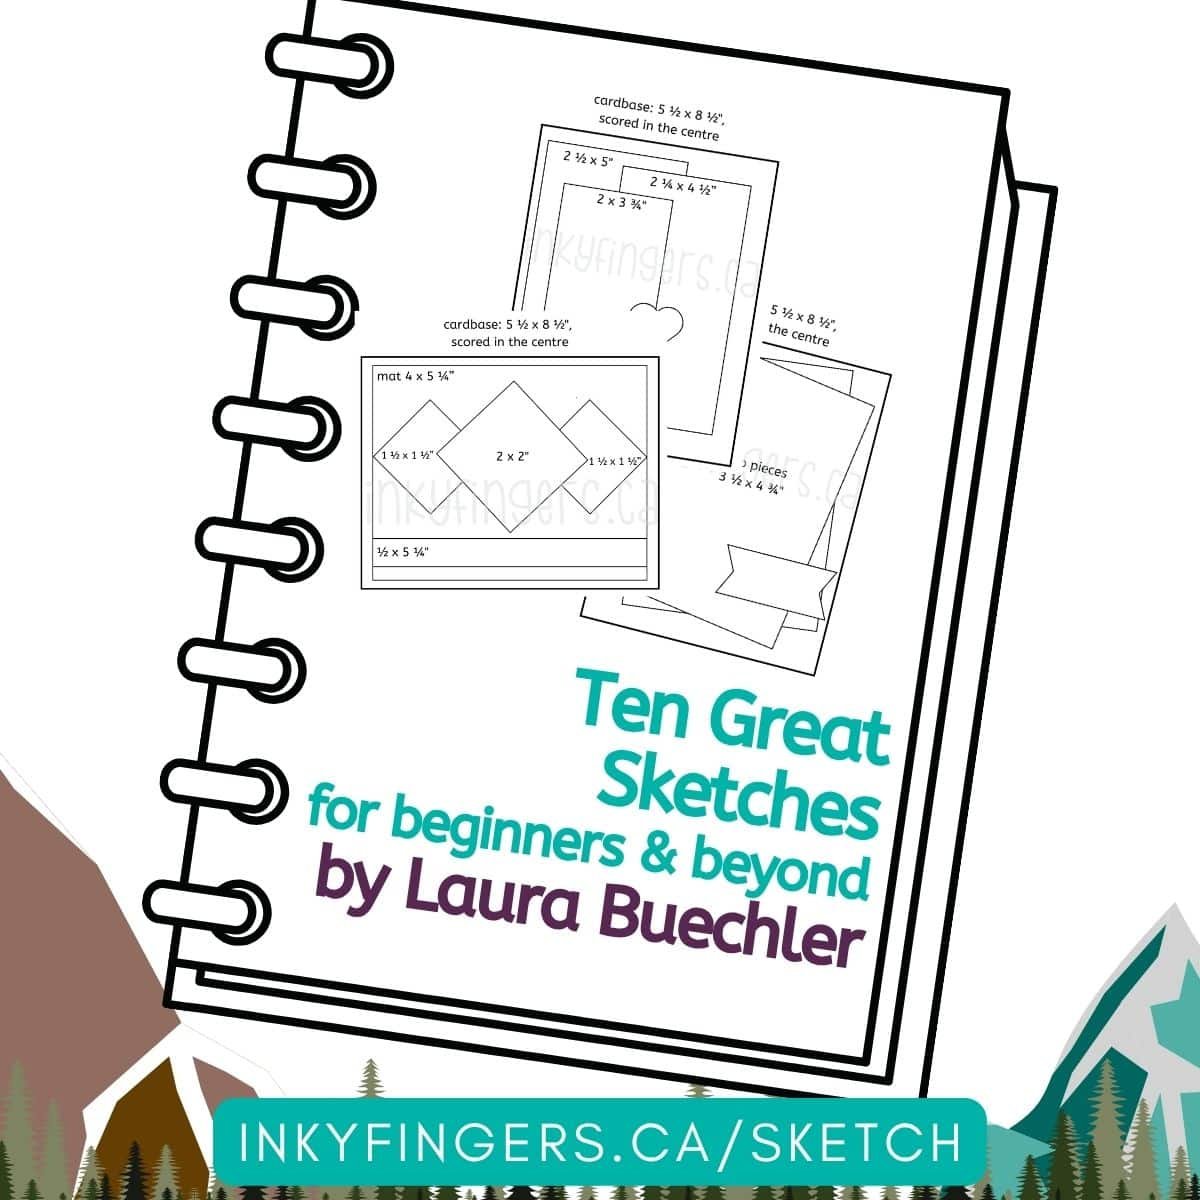
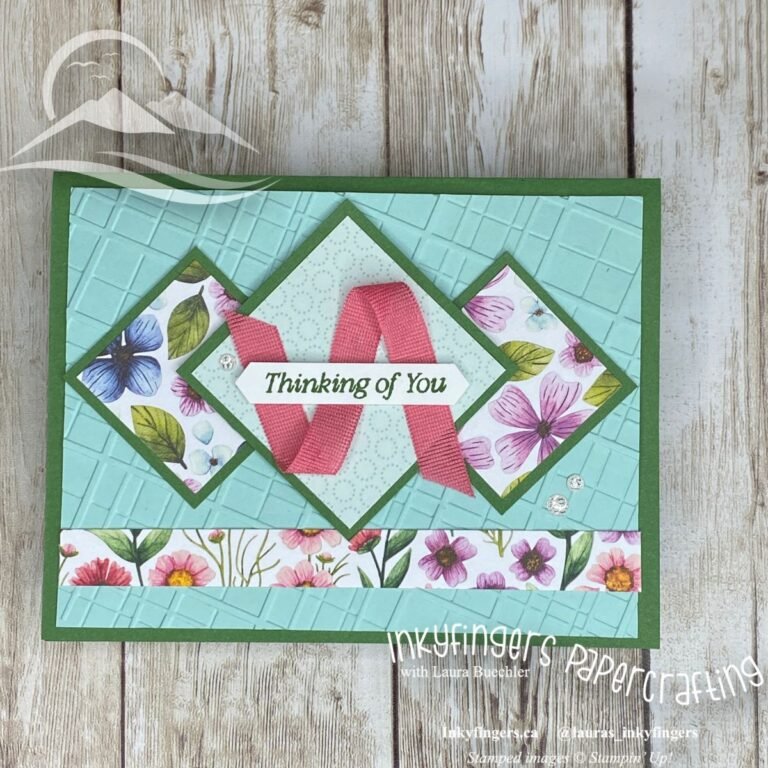
This video will show you how to follow a card sketch and use it as a starting point for your crafting inspiration! Check it out here on my YouTube channel. Don’t forget to like and subscribe while you are there! And if you don’t already have my free guide, “Ten Great Card Sketches for Beginners…