Tutorial: Triple Diamond Step Card
My teammate Arvon taught us how to make this stunning card at a recent Zoom Stamping session. Although it looks very impressive, it is incredibly simple to create, and enormously fun to decorate! Here’s how to make your own!
You will need the following cuts of cardstock and Designer Series Paper:
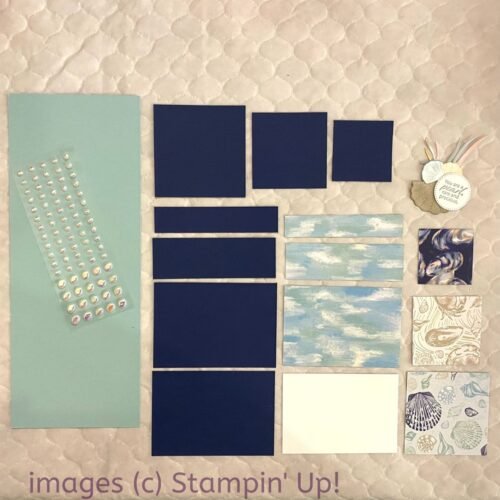
Cardbase: 4 ¼ x 11”
Contrasting cardstock:
7/8” x 4-1/8”
1-3/8 x 4-1/8”
2-7/8 x 4-1/8” (2 pcs)
2 x 2”
2 ½ x 2 ½”
3 x 3”
White cardstock:
2 ¾ x 4”
Designer Series Paper:
Pattern 1 (rectangles):
¾ x 4”
1 ¼ x 4”
2 ¾ x 4”
Additional patterns (squares):
1-7/8 x 1-7/8”
2-3/8 x 2 -3/8”
2-7/8 x 2-7/8”
Score your cardbase parallel to the short side at 3, 6, 7 ½, 9, and 10″. Burnish the score lines and accordion-fold your cardbase.
Gather all your pieces of Designer Series Paper and attach each one to the corresponding pieces of contrasting cardstock.
Attach your three rectangular panels to the three “front” panels of your card.
If desired, stamp a sentiment or image on your white cardstock (landscape orientation). Attach to a piece of contrasting cardstock and then to the back of your cardbase.
Rotate your three DSP squares to diamond orientation (corners pointing up and down). Attach to the front panels of your card by applying adhesive only to bottom portion of the shapes.
Use additional shapes, stamps, and embellishments to decorate.
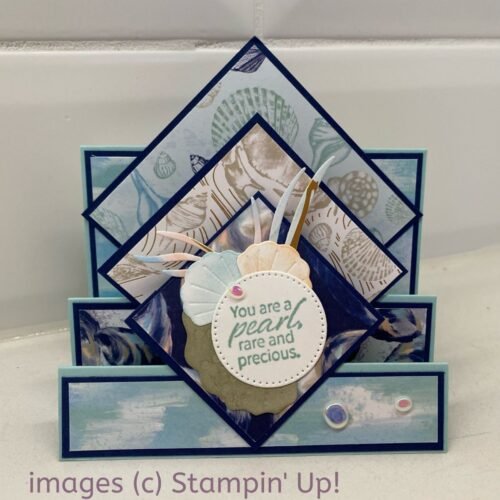
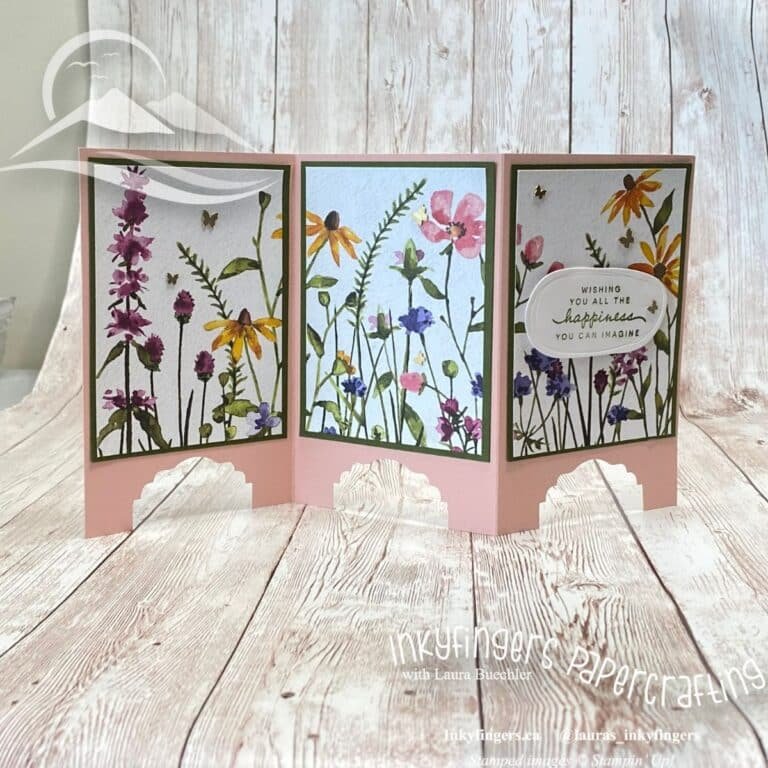
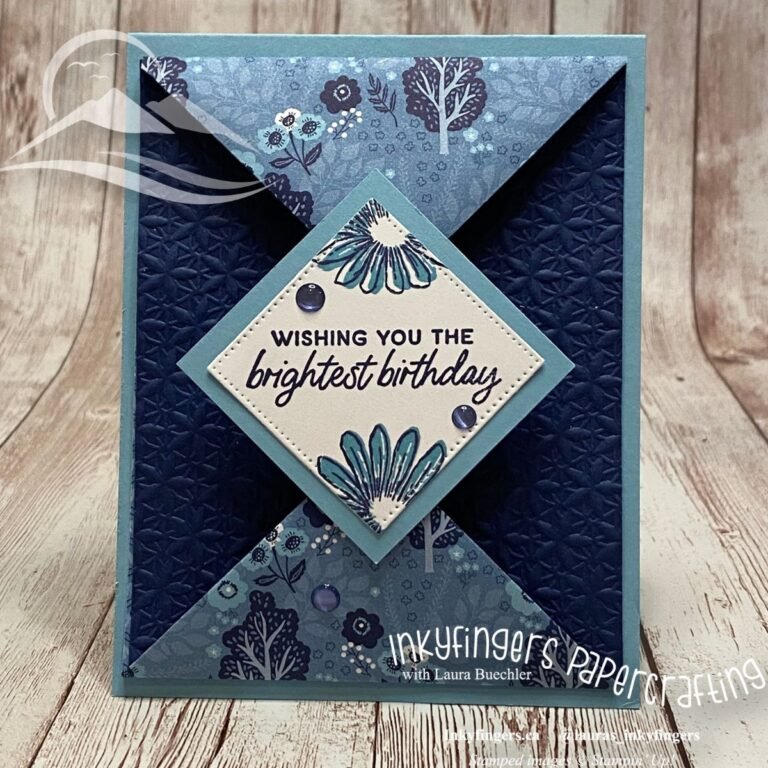
Isn’t that a gorgeous card? Here’s the one I made, with the Favoured Flowers Designer Series Paper:
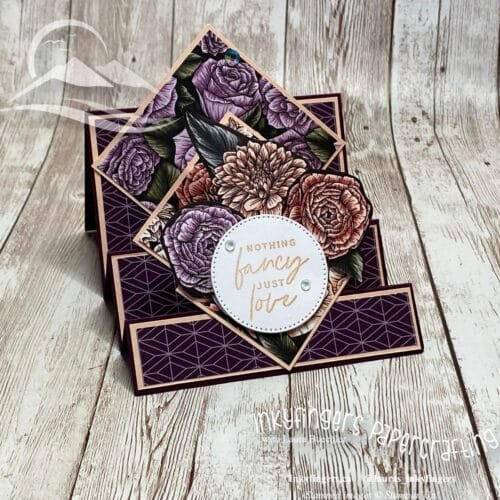
And here’s a side view of the card:
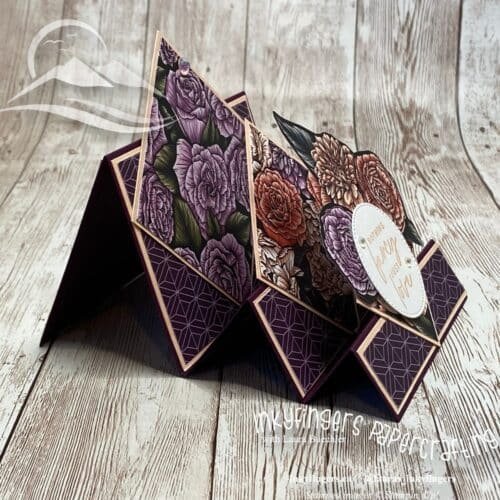
As you can see, this is a WOW card, but it’s really not that challenging – just rectangles, squares, and a few extra scorelines! I hope you’ll give it a try, and then once you’ve made your own, come and share a photo with me on my Facebook page! I love to see your creations!
Happy Stampin’!



This is a WOW card! Love it! Thanks for the tutorial and for showing two versions of it. Enjoy your day!